My son does karate....in fact, he will be testing for his black belt this month. I am sooooo excited!
He will be testing in Texas at a world wide event with people who are masters of his style....Okinawan Uechi-Ryu Karate-Do.
Mommy decided her boy needed a fresh, clean, unsullied gi for the event. It, of course, needs some adjusting. Here is a short pictorial of how I shorten and re-hem the arms and pant legs.
This works best if you have to cut off 3" or more. If you have to cut off less....you can roll and sew (a lot of bulk, ew) or you can buy a similar weight fabric and make your own facing. It's all good.
I can not stress this enough....wash and dry that sucker in hot water and a hot dryer.....several times: they shrink in odd ways and for quite awhile...trust me.
Oh, get some heavy duty top stitching thread and one big ol' needle size 14 or 16
Here is a pic of a high end Shureido Gi. I didn't alter this one, just added a patch.
These come from your measurements already.
Really? Look at this stitching...I CAN do better!
First, mark where you want the bottom to be. Duh, right?
I cut these off before I marked the hem, to eliminate some bulk, works okay if you leave them too.
I finger pressed to mark the line
Measured the reveal and counted the rows (and rows and rows) of topstitching. 6-10 is normal
From the finished edge of the hem, I added a 1/2" seam allowance then cut off the excess.
In this case, the hem line was 3" from the bottom, so I lopped off 2.5"
I used matching pins to keep the pieces mated.
The facing need to be 2.5" to have a 1.75" reveal with even thickness for all the rows of top stitching. More width=more rows.
Open up the seam (or just cut a strip to length plus a seam allowance.
Open them up and press down one edge 1/2". Fold over one end and do the same.
I stitched it down so I didn't have to think about it.
Right sides together...folded edge under the overlap. 1/2" seam allowance.
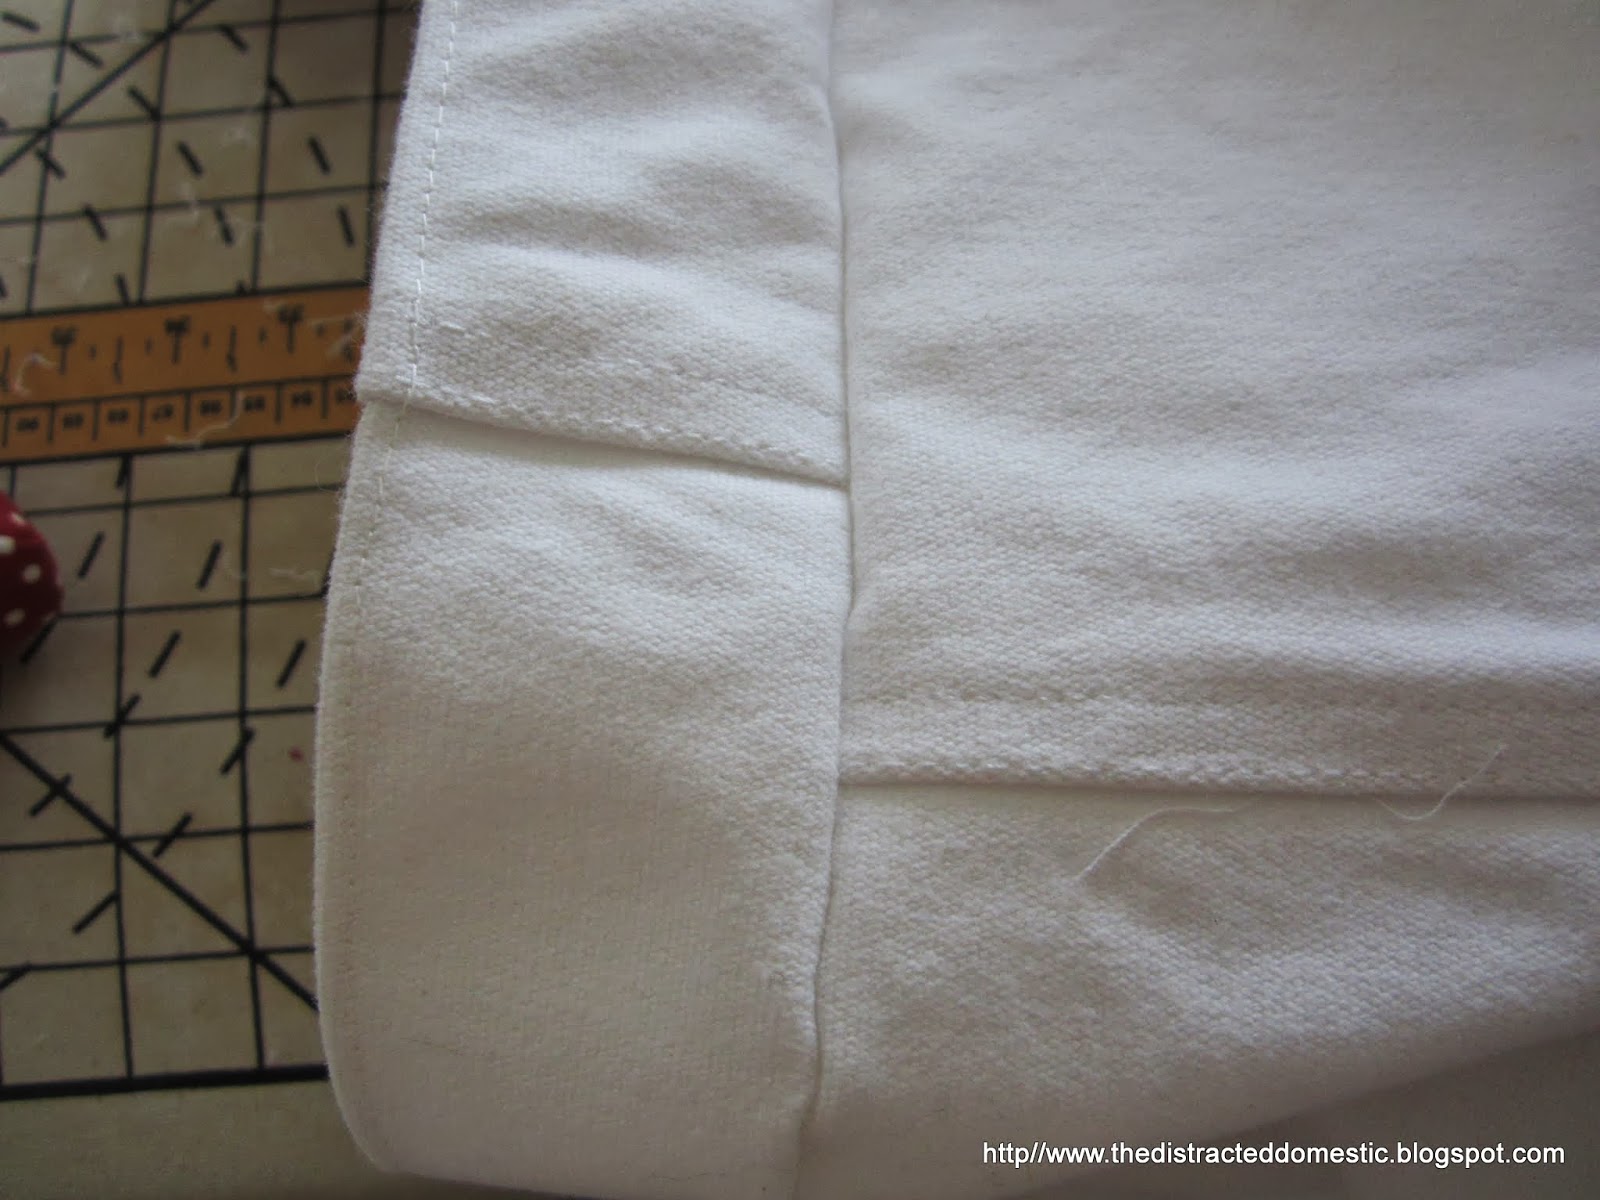
This is what it looks like after. See how I offset the seams to spread out the bulk?
Sewing through 8-10 layers of heavy canvas is not something most home sewing machines do effortlessly.
Fold in to the inside, pulling enough so that the front has a little reveal showing on the inside so you don't see the facing from the front at all. Pin a few places then top stitch like crazy.
1/8" from the bottom to start, the evenly space your rows. I did 1/4"...3/16 works good too.
Whatever you pick, try and keep it evenly spaced.
8 rows per leg
I think it looks better than the high end gi hem.
You can see the hump on the underside. You can "clap" it down with a piece of wood and a hammer, but this is on the inside leg and after a wash or two, it will become a lot less visible.
Now, on to the arms.................